Quite a bit of running around today to get what I needed. I picked up 4 new plumb bobs from Princess Auto and then went to a local metal store to get two 4 foot lengths of aluminum angle. Home Depot wanted $22 for a 4 foot piece...the metal shop seels each piece for $6 taxes in! I also picked up the new cobalt drill bits for the tough drilling ahead.
I looked at a number of sites and think I will add an element of most of what they used to this step.
Matt Dralle used the angles and bolted them to the axel holes and then added a square piece of particle board to make sure that the gear was parallel to each other. I will do the same.
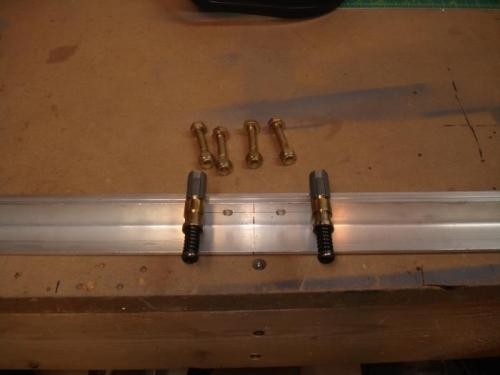
What I also did was clamp to two pieces of angle together, found the centre and then drilled for the 1/4 bolts for the axel holes. Once that was done, I then measured equal distances (23 inches from the centre) for and aft and drillled a #30 hole for the plumb bob line. I know that the distance from the centre of each gear leg is exactly the same, which will hopefully make my calculations that much easier..we shall see.
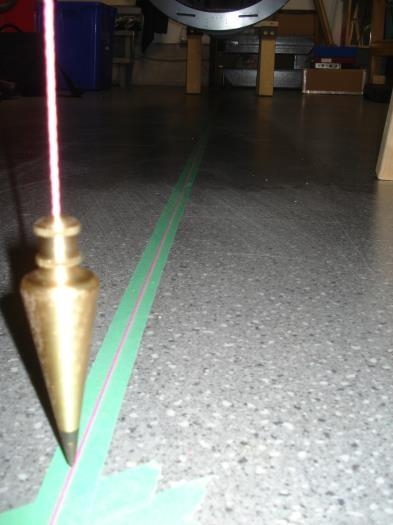
I bolted up the angle to the gear and then added the plumb bobs. Tomorrow, I will get a piece of particle board cut square so that the width is 65 11/16 inches (it worked for Matt) Once the gear are confirmed square to one another, I will then draw my parallel lines from the centre line and get the parallel gear, in parallel to the fuselage lines. Make sense?